How to put a traction pad on your surfboard

If you need to know how to put a traction pad on your surfboard, you have come to the right place. This article will explain how to do it, and you’ll see how easy it is. If you follow these steps, you shouldn’t have any problems, and you’ll see that your grip will last for longer and won’t become unstuck.

Using a traction pad has many benefits. It gives you a stronger grip, and it serves as reference so that you can know if your back foot is positioned far enough back on the board. It also adds a spot of color to our boards. However, it is very important to position it well, so that it doesn’t become unstuck, and so it can serve you well over many years.

First, you must clean your board carefully. If it is new this should be easy, but if it is used you will need to remove all of its wax, at least in the area where you will place the pad. If you don’t know how to do this, we explain here how to remove wax from your surfboard in order to leave it completely clean.

For the grip, you will need the following items:

–        A hair dryer

–        A measuring tape

–        A pen and a ruler or something that serves the same purpose

Once you have everything ready to go, you can begin work.

First, mark the center of the board. Polyester boards already have a stringer that marks the center. To mark the center of other boards, use the measuring tape to measure the width of the board, divide it in two, then mark the center with a pen and draw a line with the ruler to the tail of the board.

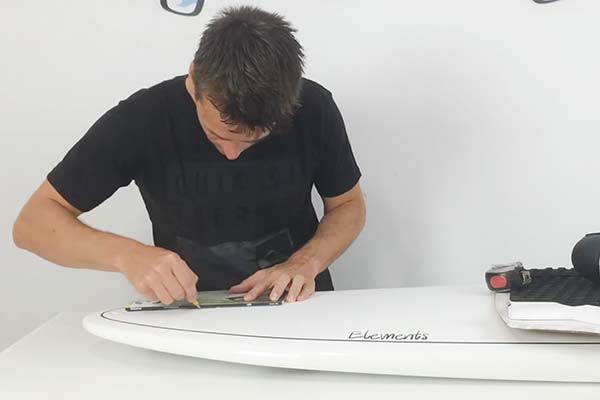
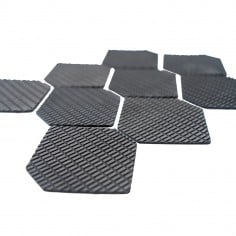
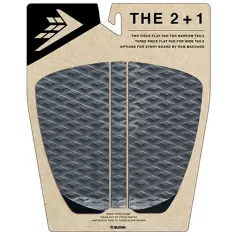
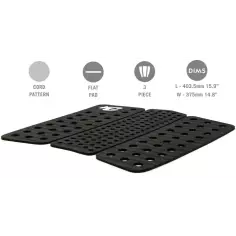
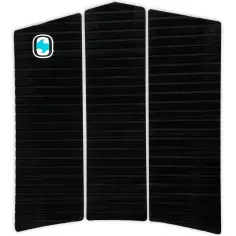
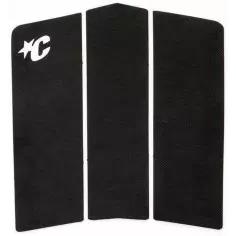
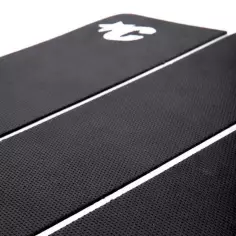
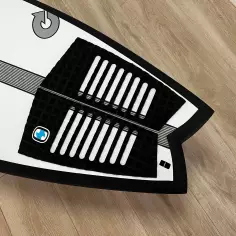
Now we can place the various pieces of the pad, always using the central line to guide us, and leaving space between each piece. Depending on the width of the board, this space might be between 1 and 6mm, so that you can adjust the grip to the shape of the tail of your surfboard.

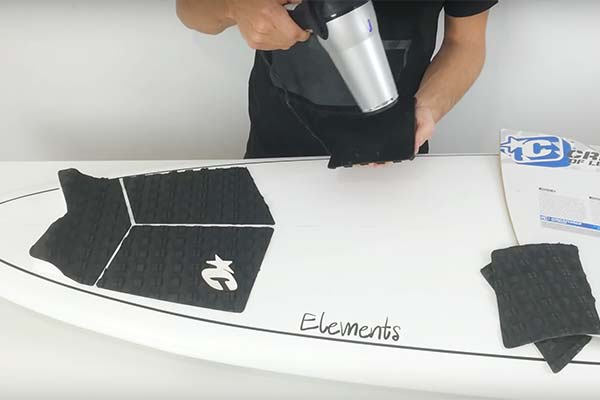
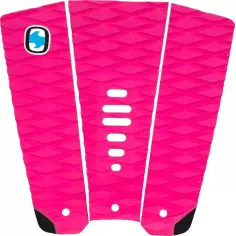
We start by sticking on the back piece of the pad, the one that carries the kick tail. Remove the protective paper from the adhesive and with the hair dryer, heat up the board as well as the grip piece. Heating the adhesive with the hair dryer is essential, this keeps your grip from unsticking. When adhesive is heated it is much stronger.

We place the back piece just in front of the leash plug, centered with respect to the middle of the board. Press with your fingers on each groove and the edges of each piece of the grip, so that each square centimeter is perfectly adhered to the board. Repeat this step with each piece of the grip, remembering that the central line helps maintain symmetry, and that you can adjust the space between each piece in order to adjust the grip to the width of the surfboard.

Once all pieces are placed, you need to have the patience to wait at least 24 hours without putting the board in the water, so that the adhesive can do its job.

We hope that this article was clear, but just in case, we made a video to help explain. If you like the article and/or the video, please share it and subscribe to our YouTube channel:

Products recommended for you:

><


Rating: 3.0. From 2 votes.
Please wait...

Leave a Reply

Your email address will not be published. Required fields are marked *