How to fix the tail of your surfboards

The tail on your surfboard is one of the most unstable areas, and it receives bumps and blows quite often, both from the ground as well as from the scraping of the leash. This is why we are going to explain to you how you can repair the tail yourself and how to do it well.

1. Preparing the area to be repaired.

You must eliminate all of the pieces of fiberglass that have separated from the foam. Using a knife or a cutter, get rid of all the pieces of fiber and foam that are scratched or detached, leaving the board clean, and of course, dry.

2. Rebuild the tail

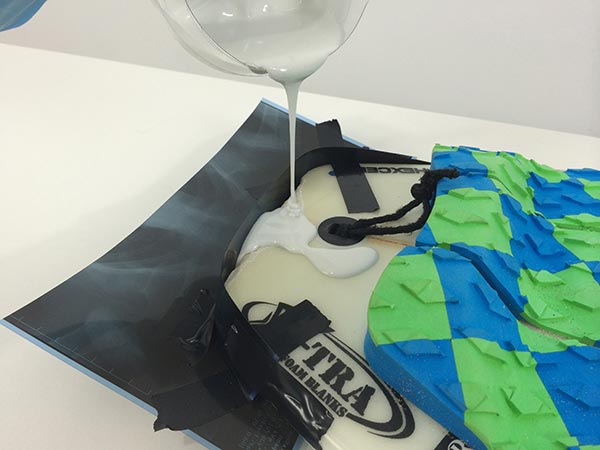
You are now going to rebuild the tail, to return it to its original shape. To do this, make a mold, a kind of formwork around the tail, where you will then introduce a mixture of resin with glass bubbles.

You can use an x-ray to make the formwork, keeping the x-ray pieces under the board and around the tail with tape. 
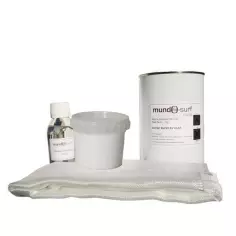
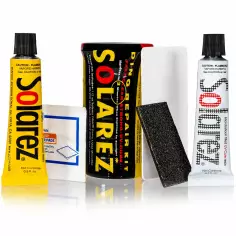
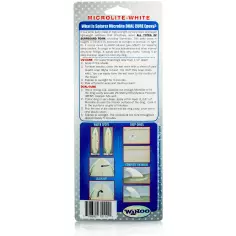
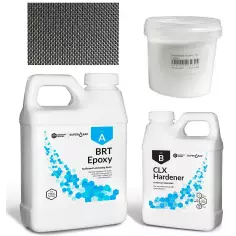
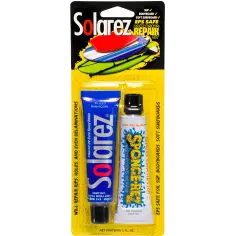
Then prepare a mixture of resin (polyester or epoxy depending on the construction of your board) with glass microspheres and PMEK catalyst. The glass bubble make the resin take on volume, but without weight. 
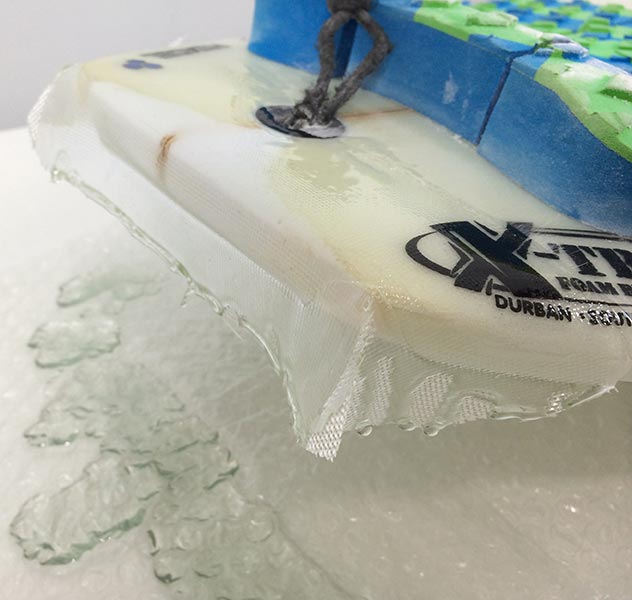
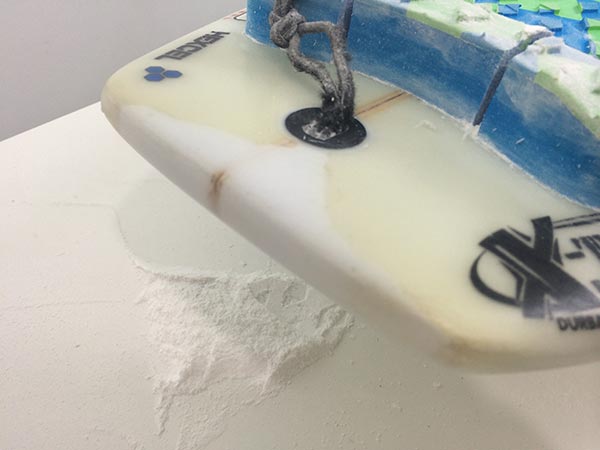
They are ideal for repairing any type of deep dent on your surfboard. Fill the formwork with this mixture, let it harden, and remove the mold.

You will see how the areas in contact with the x-ray come out perfectly smooth and shiny, but even so, it is necessary to sand the area with 80 grit paper, so that everything is perfectly smooth and rough.

3. Reinforce the tail with fiberglass

If the glass bubbles and the resin are perfect to fill and rebuild a deep part of your surfboard, they are not robust enough, and in an area as delicate and requested as the tail, it is necessary to place a piece of fiberglass , which will provide the necessary solidity.

Cut a piece of 4 or 6 oz fiberglass so that it covers the entire part of the tail to be repaired. The piece must catch both the deck and the bottom of the board. Impregnate it first with a mixture of resin and catalyst, let it harden, and then apply a mixture of polyester resin with waxed styrene and PMEC catalyst if your board is polyester, or epoxy resin with its catalyst if your board is epoxy. This last layer, called gel coat or hot coat by shapers, allows the surface to be evened out, and makes the resin sandable.

4. Sand the tail

Sand the area starting with coarse 80-grit sandpaper, until you get a perfectly smooth area with no irregularities. Once achieved, and so that the repaired area has the same appearance as the rest of the board, sand with increasingly fine sandpaper. After 80 grit, you can successively pass 120, 180, 240, 360 and 500 sandpaper until you get a smooth, matte finish.

Knowing how to repair the board yourself is not only an economic saving, it is above all a peace of mind. The peace of mind that the repair time depends exclusively on you, and that you are not going to miss a swim because you do not have your board ready. And if it is not entirely clear to you, watch this video tutorial that we have prepared for you:


Products recommended for you:

Rating: 5.0. From 1 vote.
Please wait...

Leave a Reply

Your email address will not be published. Required fields are marked *